Applying to the University of South Africa (UNISA) is a big step toward your academic future. But submitting your application is only half the journey. Once you’ve applied, you must upload the correct supporting documents for your application to be processed successfully. These documents help UNISA verify your qualifications, identity, and eligibility for the programme you’ve chosen.
Unfortunately, many students get stuck at this stage — not because it’s hard, but because they aren’t sure what documents are required or how the upload system works. The good news is that uploading documents to UNISA after applying is quite straightforward once you understand the process.
In this detailed guide, we’ll walk you through everything — from what documents you need, how to prepare and upload them, and what to do if you face errors. You’ll also learn practical tips to make sure your submission is accepted without delays. Whether you’re applying for undergraduate, postgraduate, or short learning programmes, this step-by-step guide will make the process simple and stress-free.
How to Upload Documents to UNISA After Applying
Uploading your documents to UNISA after submitting your application is done entirely online through the university’s official student system. This process allows you to attach your certified documents so UNISA can verify your information before finalising your admission.
Here’s a clear breakdown of how it works:
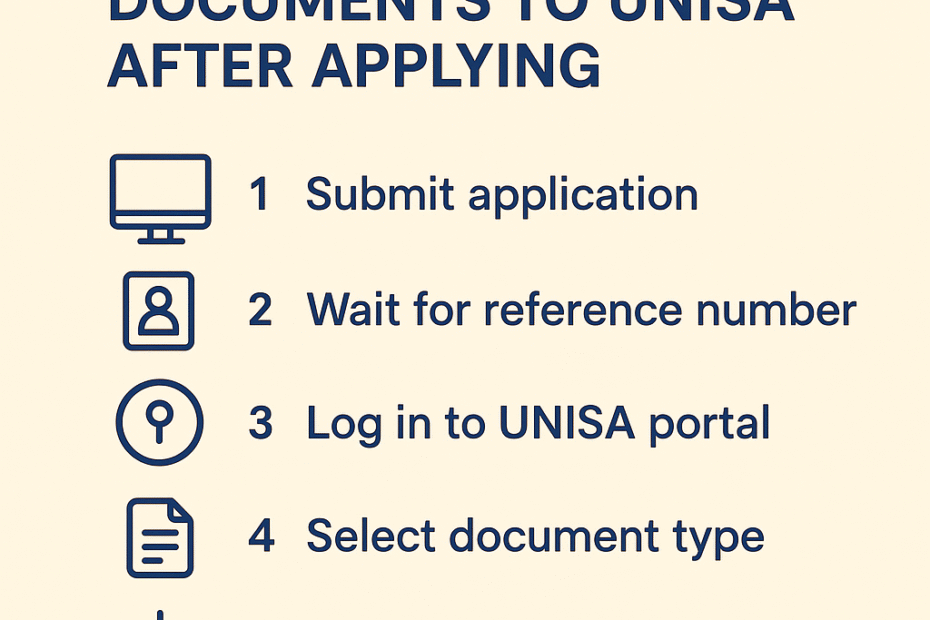
- Wait for your application reference number:
After completing your online application, you’ll receive an official UNISA student number or application reference number. You cannot upload documents without this number. - Prepare your documents:
Ensure all required files are ready, clearly scanned, and saved on your device (computer, tablet, or smartphone). - Log in to the UNISA online system:
Use your credentials (student number and password) to access the document upload portal. - Select the correct section:
Navigate to the “Upload Supporting Documents” page linked to your application type. - Attach and upload:
Browse and select the files one by one, then click Upload to submit. - Confirm submission:
Always double-check that your documents show as “uploaded successfully.” - Wait for verification:
UNISA will review and verify your documents. You may be contacted if additional files or clearer copies are required.
What Documents Do You Need to Upload to UNISA?
The documents you must upload depend on your qualification type and personal status (new applicant, transfer student, international student, etc.). However, most applicants will need the following:
- Certified copy of your ID or passport
- Certified copies of your school qualifications (e.g., matric certificate or equivalent)
- Proof of marriage or divorce decree (if applicable)
- Proof of payment of the application fee
- Academic transcripts (for postgraduate or transfer applicants)
- Sworn translations (if any document is not in English or Afrikaans)
Make sure every document is certified within the last three months by a Commissioner of Oaths or relevant authority.
How to Prepare Your Documents for Upload
UNISA’s online system requires your documents to be in the correct format and size. Poorly prepared files can cause rejections or upload errors.
Here’s how to prepare them properly:
- Format: Use PDF, JPEG, or PNG. Avoid Word or ZIP files.
- File Size: Keep each file below 2 MB for smooth uploading.
- Naming: Use clear names like ID_Certificate.pdf or Matric_Results.jpeg.
- Clarity: Ensure scans are not blurred or cut off.
- Orientation: Keep all pages upright (not sideways).
If you don’t have a scanner, you can use your smartphone camera — just ensure the lighting is bright, the image is flat, and the text is visible.
Step-by-Step Guide: Uploading Documents After You Apply
Here’s a more detailed step-by-step walkthrough for clarity:
Step 1: Go to the UNISA Application Portal
Access the online application portal you used to submit your application. Use your student number and password to sign in.
Step 2: Find the “Upload Documents” Section
Once logged in, navigate to the section that allows you to upload supporting documents. It’s usually under “My Applications” or “Documents Upload.”
Step 3: Select the Type of Document
Click on the document type you want to upload (e.g., ID copy, academic record, proof of payment).
Step 4: Browse and Attach
Use the “Browse” button to locate the file on your device, then select it.
Step 5: Upload and Confirm
Click “Upload.” Wait a few seconds for the system to process. You’ll see a confirmation message or icon showing your upload was successful.
Step 6: Repeat for Each Document
Upload all the required documents one by one. Double-check that each file is properly listed in the system.
Step 7: Log Out Securely
After confirming all uploads, log out to protect your account.
What Happens After You Upload Your Documents?
Once your documents are uploaded, UNISA’s admissions office reviews them for authenticity and completeness. This step is crucial — if any document is missing or unclear, your application may be delayed.
Typically, you can expect:
- A confirmation email that your documents have been received.
- A status update on your application portal after verification.
- A possible request for additional documents if something is incomplete or invalid.
Be patient. Verification can take time, especially during peak application periods.
How Long Does It Take UNISA to Verify Uploaded Documents?
The verification process usually takes a few days to several weeks, depending on:
- The number of applications being processed.
- The clarity and validity of your documents.
- Whether you submitted everything correctly.
You can monitor your application status through your UNISA portal to check if your documents have been accepted or if additional uploads are needed.
Can You Upload Documents After the Deadline?
Generally, UNISA requires all documents to be uploaded before the closing date for applications. If you miss this window, your application may be marked as incomplete.
However, in some cases, UNISA may allow late uploads — especially if the delay was due to system issues or verification problems. If this happens, keep your supporting documents ready and check your portal regularly for any new upload opportunities.
Why UNISA Rejects Uploaded Documents
Document rejections usually occur for one of the following reasons:
- The file is not certified or the certification is outdated.
- The file is unreadable (blurred, cropped, or too dark).
- You uploaded the wrong document type in the wrong section.
- The file format is not accepted.
- The document doesn’t match your application details (e.g., mismatched name or ID).
To avoid this, always recheck your documents before uploading.
How to Check If Your Documents Were Uploaded Successfully
After uploading, you can verify your submission in two ways:
- Through the upload confirmation message — You’ll see an on-screen notification confirming a successful upload.
- Through your application dashboard — Log in and open your “My Applications” section. Each uploaded file should appear listed with a status like Uploaded or Received.
If a document doesn’t appear or shows an error, re-upload it immediately.
Can You Replace or Re-upload Documents?
Yes, UNISA allows you to replace a document if it’s incorrect, expired, or unclear — but only before verification. Once verification starts, you’ll need to wait for a request from the admissions office to re-upload.
If you realise you made a mistake, simply:
- Log in to the portal.
- Delete the wrong file.
- Upload the corrected document.
Make sure to double-check the format and clarity this time.
Tips to Ensure a Smooth Upload Process
Uploading might seem easy, but small mistakes can cause delays. Here are a few smart tips:
- Use a laptop or computer: Mobile uploads can fail or cut off sections of a document.
- Use stable internet: A poor connection might interrupt the upload.
- Check file size: Compress large PDFs using online tools before uploading.
- Save backups: Keep a copy of every uploaded file on your device.
- Avoid last-minute uploads: The system gets busy near deadlines.
Common Questions About Uploading Documents to UNISA
1. Do I need to upload all documents at once?
No. You can upload them in stages as long as it’s before the deadline.
2. What if I don’t have access to a scanner?
You can use a smartphone camera — just ensure documents are well-lit, straight, and readable.
3. Can someone else upload documents for me?
Yes, as long as they use your official UNISA login details. However, for security reasons, it’s best to do it yourself.
4. What happens if I upload the wrong document?
You can delete it and re-upload the correct one, provided verification hasn’t started.
5. How do I know UNISA received my documents?
You’ll get a confirmation on your application portal. Always check for status updates.
Troubleshooting Upload Errors
Sometimes, technical errors occur. Here’s how to fix the most common ones:
- Error: “File Too Large” – Reduce the file size using a PDF compressor.
- Error: “Invalid Format” – Convert the document to PDF or JPEG.
- Error: “Upload Failed” – Check your internet connection or browser.
- Error: “Duplicate Document” – Rename your file before uploading.
If the problem persists, clear your browser cache or try again on a different device.
Can You Upload Documents via Email or In Person?
No. UNISA only accepts supporting documents through its official online system. Uploading via email or visiting an office won’t count toward your application. Always use the portal linked to your student number.
How to Know If Your Application Is Complete After Uploading
Your application is only considered complete when:
- All required documents are uploaded and verified.
- The application fee has been paid.
- The status on your portal changes to “Complete” or “Under Review.”
Once that happens, you can wait for admission results or registration instructions.
Final Checklist Before Submitting
Before you log out, go through this quick checklist:
✅ All documents are certified and clear
✅ File names are simple and correct
✅ All uploads show “successful”
✅ Each file is below 2 MB
✅ You’ve uploaded in the right sections
✅ You’ve confirmed submission on the portal
If all boxes are ticked, your UNISA document upload is complete.
Conclusion
Uploading documents to UNISA after applying is one of the most important parts of your admission journey. While it may seem technical at first, the process is simple once you understand the steps. The key is to prepare your documents properly, follow the upload instructions carefully, and double-check everything before logging out.
Remember, incomplete or unclear documents can delay your admission, so take your time and get it right the first time. With this guide, you now have all the information you need to upload your documents successfully and move one step closer to studying at UNISA.